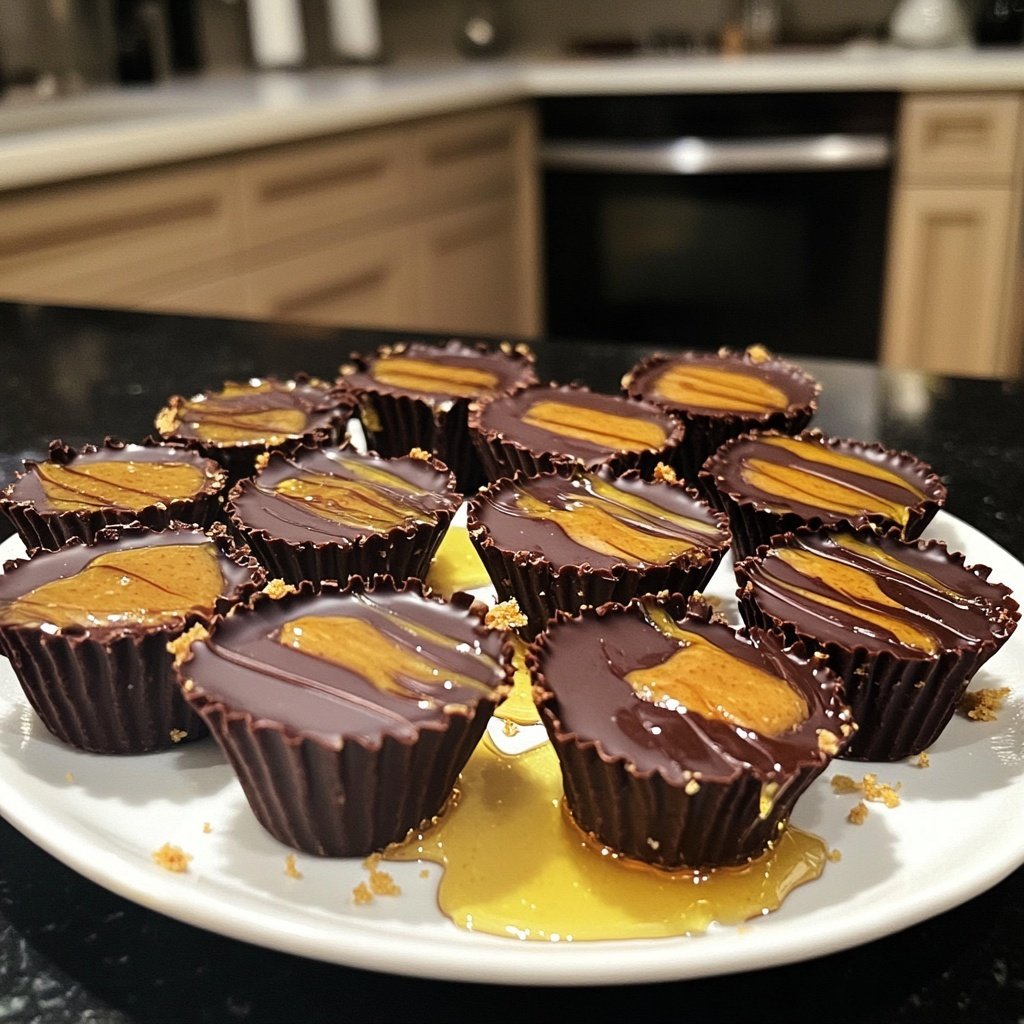
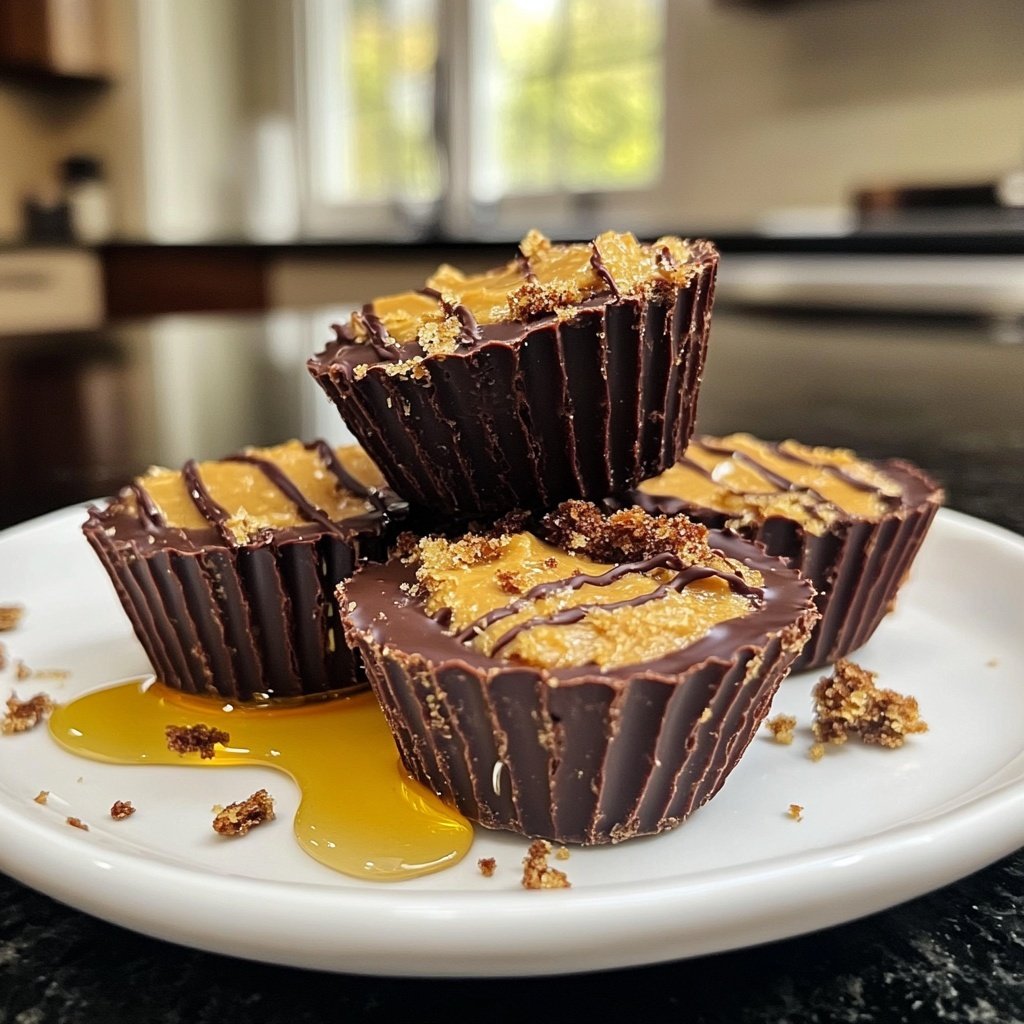
Homemade Peanut Butter Cups with Honey
Highlighted under: Dessert Bliss
I absolutely love making Homemade Peanut Butter Cups with Honey, especially when I'm craving something sweet yet satisfying. This recipe combines the rich, creamy texture of peanut butter with the natural sweetness of honey, resulting in a delectable treat that's perfect for any time of day. Unlike store-bought versions, these homemade delights allow me to control the ingredients, ensuring they're both delicious and healthier. Each bite is a burst of flavor that satisfies my sweet tooth without the guilt. Trust me, once you try making these at home, you'll never go back!
When I first experimented with making peanut butter cups, I was amazed at how easy and rewarding it was. I decided to sweeten the melted chocolate with a drizzle of honey for an extra layer of flavor, and it changed the game. My family loved the result, and now it's a staple when we're in the mood for a quick dessert!
One key tip I found was to use high-quality chocolate, as it makes a significant difference in taste. I also recommend chilling them for a bit longer than you think—this ensures they set properly and have that perfect bite. Trust me, your homemade treats will impress everyone!
Why You'll Love These Peanut Butter Cups
- Rich peanut butter flavor enhanced by natural honey sweetness
- Creamy chocolate coating that perfectly complements the filling
- Easy to make and customize, perfect for sharing or enjoying alone
Key Techniques for Perfect Peanut Butter Cups
When melting chocolate, it's essential to do so slowly to avoid burning. Using a microwave is convenient, but heating in 30-second intervals allows better control over the temperature. Stir the mixture each time you check to help distribute the heat evenly, resulting in a glossy, smooth texture. If you notice any graininess, give it a good stir and reheat in shorter bursts until it’s fully melted.
Using mini cupcake liners is a game changer for presentation and ease of removal. They help maintain the shape while freezing, and you can easily peel them away once the chocolate is set. Opt for liners that are silicone-based for an even easier release, especially if you're concerned about sticking.
Ingredient Insights
The choice of peanut butter is crucial for achieving the right flavor and texture. I recommend using a creamy variety, as it blends seamlessly with the honey and creates a smooth filling. If you prefer a nuttier taste, natural peanut butter with minimal processing can also work, but ensure it's mixed thoroughly to prevent oil separation during assembly.
Coconut oil plays a dual role in this recipe: it helps chocolate set with a glossy finish and gives your peanut butter cups a slightly tropical flavor. If you need a substitute, try using vegetable oil, but keep in mind that it may alter the flavor profile slightly. The coconut oil also aids in achieving a firmer chocolate coating that snaps nicely when bitten into.
Ingredients
Gather all your ingredients before starting to ensure a smooth preparation process:
Ingredients for Peanut Butter Cups
- 1 cup creamy peanut butter
- 1/3 cup honey
- 1 cup dark chocolate chips
- 1 tablespoon coconut oil
- 1/2 teaspoon vanilla extract
- Pinch of salt
Once you have all your ingredients ready, it's time to get started!
Instructions
Follow these simple steps to create your very own peanut butter cups:
Prepare the Chocolate Layer
In a microwave-safe bowl, combine the dark chocolate chips and coconut oil. Microwave in 30-second intervals, stirring in between until melted and smooth.
Mold the Chocolate
Use mini cupcake liners and place them in a muffin tin. Spoon a little melted chocolate into each liner, enough to cover the bottom. Place in the freezer for 10 minutes to set.
Make the Peanut Butter Filling
In a medium bowl, mix the creamy peanut butter, honey, vanilla extract, and salt until well combined. Remove the chocolate molds from the freezer.
Assemble the Cups
Spoon a generous amount of the peanut butter mixture into each chocolate mold, then cover with the remaining melted chocolate. Smooth the top and return to the freezer for another 10 minutes.
Finish and Serve
Once fully set, carefully remove the cups from the liners. Enjoy your homemade peanut butter cups or store them in an airtight container in the fridge!
Your delicious peanut butter cups are ready to be enjoyed! Get creative and try adding other ingredients if you like.
Pro Tips
- For an extra crunch, consider adding crushed nuts or a sprinkle of sea salt on top before the chocolate sets. You can also experiment with different types of nut butter for a unique twist!
Storage and Freezing Tips
After making these peanut butter cups, you might want to prepare them in advance. They store well in an airtight container in the fridge for up to two weeks. Be sure to separate layers with parchment paper to prevent sticking. For longer storage, you can freeze the cups, where they will keep up to three months. Just allow them to thaw in the fridge before enjoying, ensuring they maintain their texture.
If you find that your cups have softened in the fridge, simply pop them in the freezer for about 15-20 minutes before serving. This will help restore their firmness and make them easier to bite into, keeping that satisfying chocolate snap intact.
Delicious Variations
Feel free to customize your peanut butter cups by adding textures and flavors. Chopped nuts like almonds or pretzels can provide a delightful crunch and contrast to the creamy filling. Alternatively, adding a sprinkle of sea salt on top right before freezing can enhance the flavor and provide a gourmet touch.
To switch things up, experiment with different types of chocolate. While dark chocolate provides a rich and bold flavor, you can use milk chocolate for a sweeter option, or even white chocolate for a unique twist. Just be mindful of the sweetness level, adjusting the honey if needed to balance out the flavors.
Questions About Recipes
→ Can I use almond butter instead of peanut butter?
Yes, almond butter works wonderfully in this recipe and provides a different flavor profile.
→ How do I store the peanut butter cups?
Store them in an airtight container in the refrigerator for up to two weeks.
→ Can I make these vegan?
Absolutely! Just use dairy-free chocolate chips and ensure your peanut butter is vegan-friendly.
→ How can I make these more decadent?
Try adding a layer of crushed cookies or toppings like shredded coconut before the final chocolate layer.
Homemade Peanut Butter Cups with Honey
What You'll Need
Ingredients for Peanut Butter Cups
- 1 cup creamy peanut butter
- 1/3 cup honey
- 1 cup dark chocolate chips
- 1 tablespoon coconut oil
- 1/2 teaspoon vanilla extract
- Pinch of salt
How-To Steps
In a microwave-safe bowl, combine the dark chocolate chips and coconut oil. Microwave in 30-second intervals, stirring in between until melted and smooth.
Use mini cupcake liners and place them in a muffin tin. Spoon a little melted chocolate into each liner, enough to cover the bottom. Place in the freezer for 10 minutes to set.
In a medium bowl, mix the creamy peanut butter, honey, vanilla extract, and salt until well combined. Remove the chocolate molds from the freezer.
Spoon a generous amount of the peanut butter mixture into each chocolate mold, then cover with the remaining melted chocolate. Smooth the top and return to the freezer for another 10 minutes.
Once fully set, carefully remove the cups from the liners. Enjoy your homemade peanut butter cups or store them in an airtight container in the fridge!
Extra Tips
- For an extra crunch, consider adding crushed nuts or a sprinkle of sea salt on top before the chocolate sets. You can also experiment with different types of nut butter for a unique twist!
Nutritional Breakdown (Per Serving)
- Calories: 180 kcal
- Total Fat: 12g
- Saturated Fat: 3g
- Cholesterol: 0mg
- Sodium: 50mg
- Total Carbohydrates: 15g
- Dietary Fiber: 1g
- Sugars: 10g
- Protein: 4g